Instruction of Quick Operation of VCS
1. Software Installation
This software does not need any installation procedure, and just copy the files in the CD to the computer. The CD is not with direct running function, but to save its original software version. The software works on WINDOWS XP SP3,WIN7,WIN8.
For easier operation, we can create a shortcut of VCS.EXE in desktop. When running it, double click it. The way to create the shortcut is to right click the VCS.EXE. Please follow the steps :
2. VCS Driver Installation
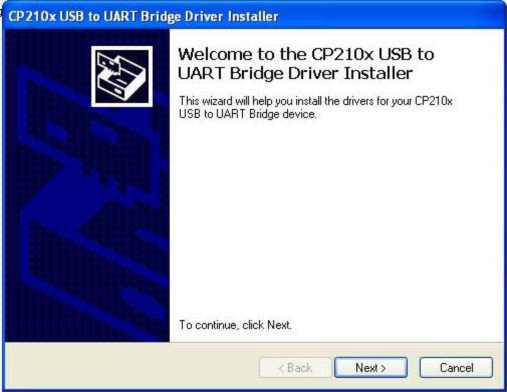
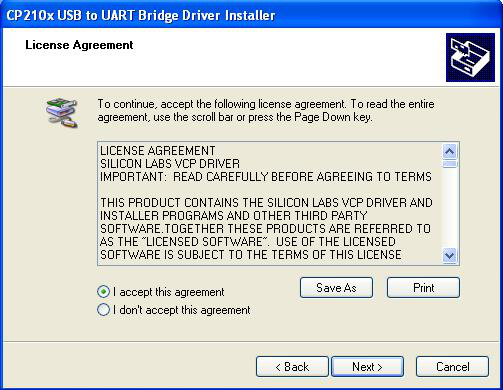
1.1 Find the [VCS DRIVER for Windows] file in the CD, and choose a installing file that matched with your operating system. Please refer to
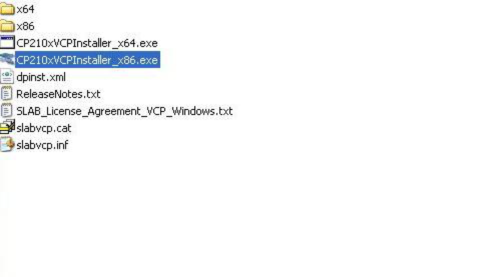
2.2 Running the setup, and finish the USB driver installation according to installation tips.
3. Software operation
Running VCS, the main interface is as bellow:

Instructions:
Main interface Car diagnose
System settings
exit
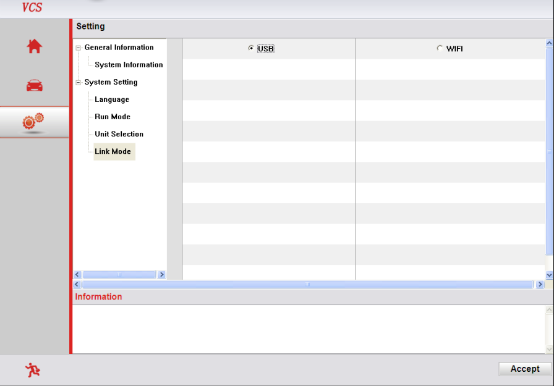
3.1 System settings
The first time you use it, please make some system settings. Click the icon of “system settings”  . Follow:
Explanation:
Setup mode:Diagnosing mode is an actual test mode, while demo mode is with software demo function, not actual testing cars.
Setting units: You can choose inch or metric units as you need
Connecting way: Choose USB when connecting with cable, and under demo mode. Choose WIFI when testing wirelessly.
3.2 Car Diagnosis
Please connect VCS to the OBD diagnostic block of the car. Then the power indicator will light. Start VCS software. Connect the USB
to your laptop or wait for the WIFI connection after choosing USB or WIFI connection. The first time you use WIFI, it may takes some time. The fixed SSID of VCS is UCNDAS. If the WIFI failed, please set it manually. When WIFI is connected successfully, the VCS wireless icon will light. After connecting, click” car diagnose” icon” . Refer to:
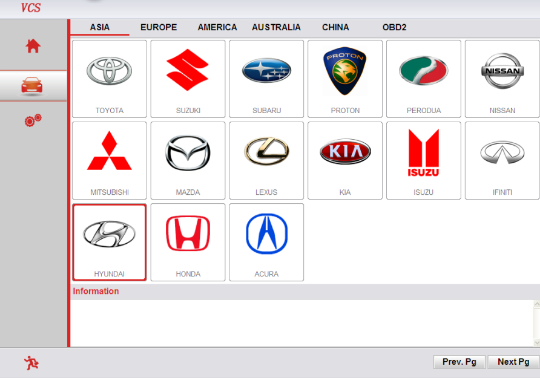
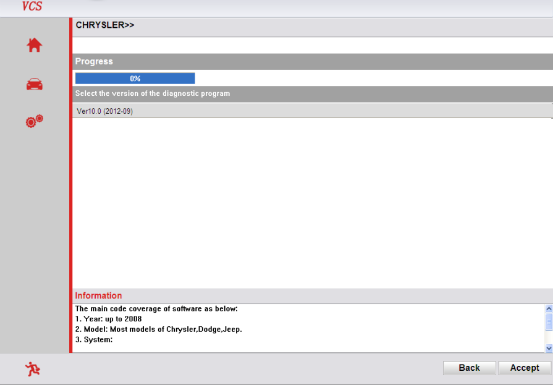
Choose the car models you need, click its icon, and then press ”accept” as shows: