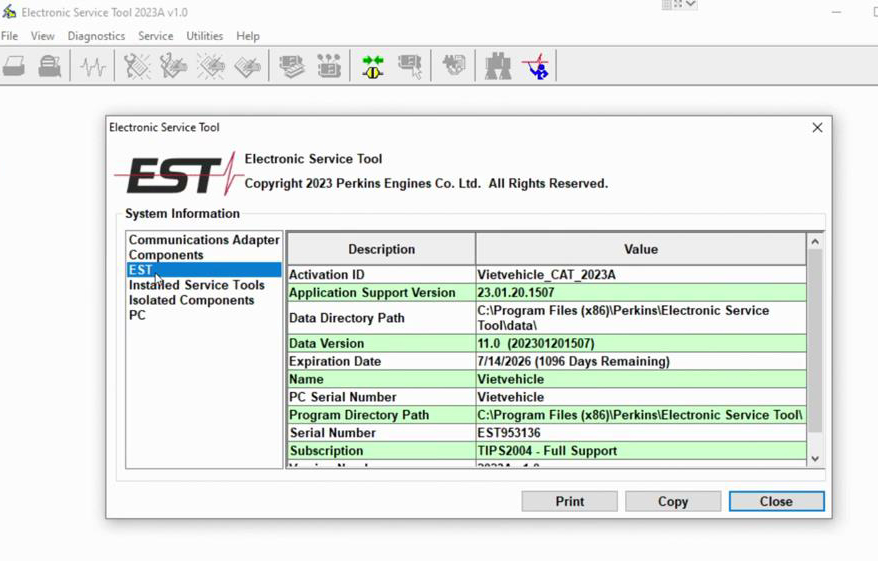
Perkins EST 2023A is a diagnostic software for Perkins engines & generators it will communicate with the electronic control modules (ECMS) through a communication data link, allowing existing and potential problems to be diagnosed, products to be configured, and data to be obtained for analysis.
UPDATE: 2023A
SIZE: 511 MB
REGION: All Regions
TYPE: Diagnostic
LICENSE – SOFTWARE – KEYGENS – KM – PACKAGES – LEND A HAND – ASSIST
OS Requirements:
Windows 11 Pro x64
Interface Adapter:
CAT COMM ADAPTER III
NEXIQ USB LINK 1
NEXIQ USB LINK 2
DPA 5
Here’s a general guide on how to install the Perkins EST 2023A Software:
1. Download the Software:
https://www.autonumen.com/blog/perkins-est-software-free-download/
2. sytem Requirements: Verify that your computer meets the minimum system requirements specified by Perkins EST. These requirements typically include the operating system version, available disk space, processor speed, and memory.
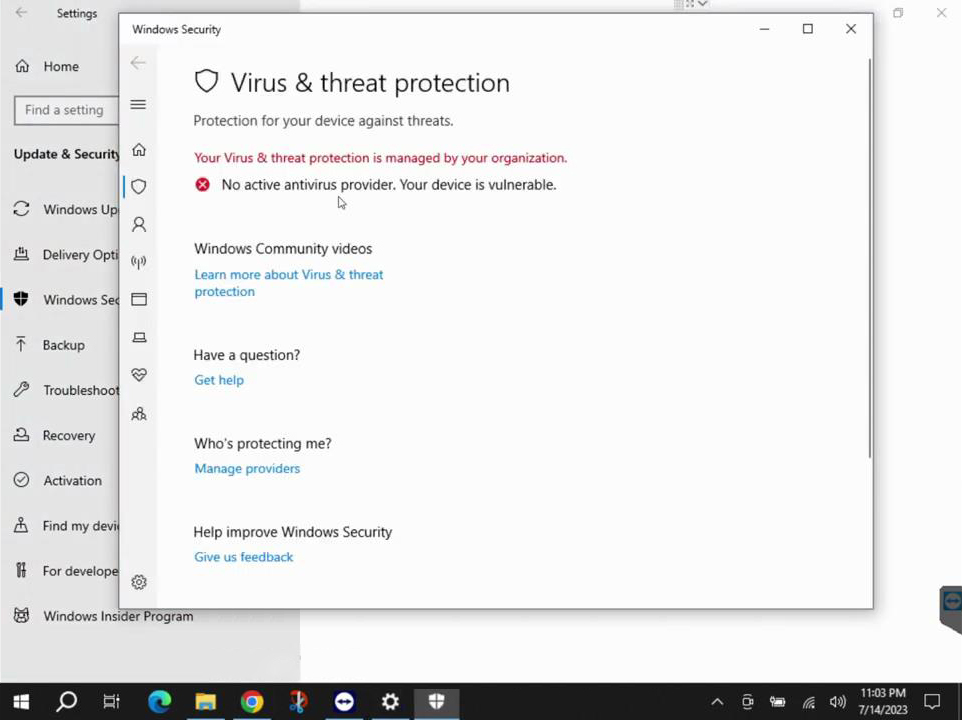
3. Disable Antivirus and Firewall: Temporarily disable your antivirus and firewall software to prevent any interference during the installation process. Remember to re-enable them once the installation is complete.
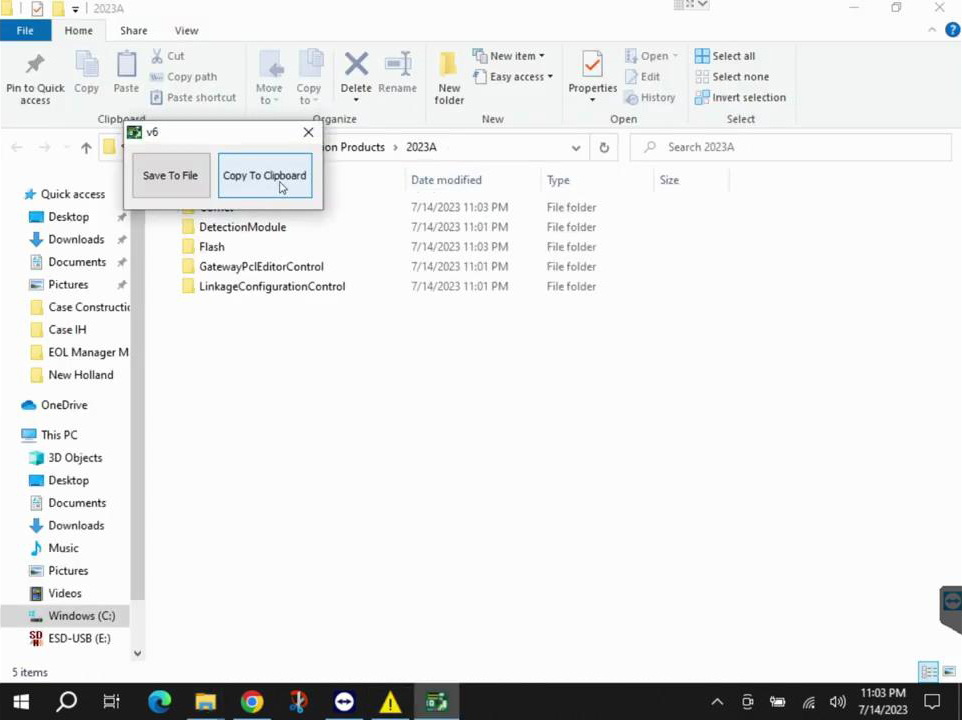
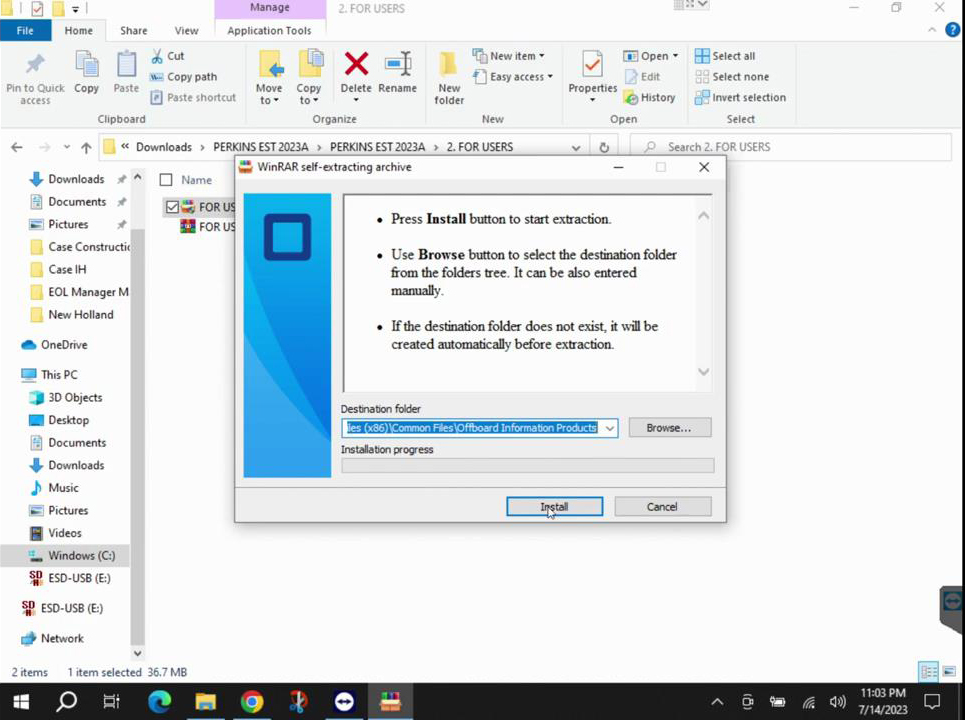
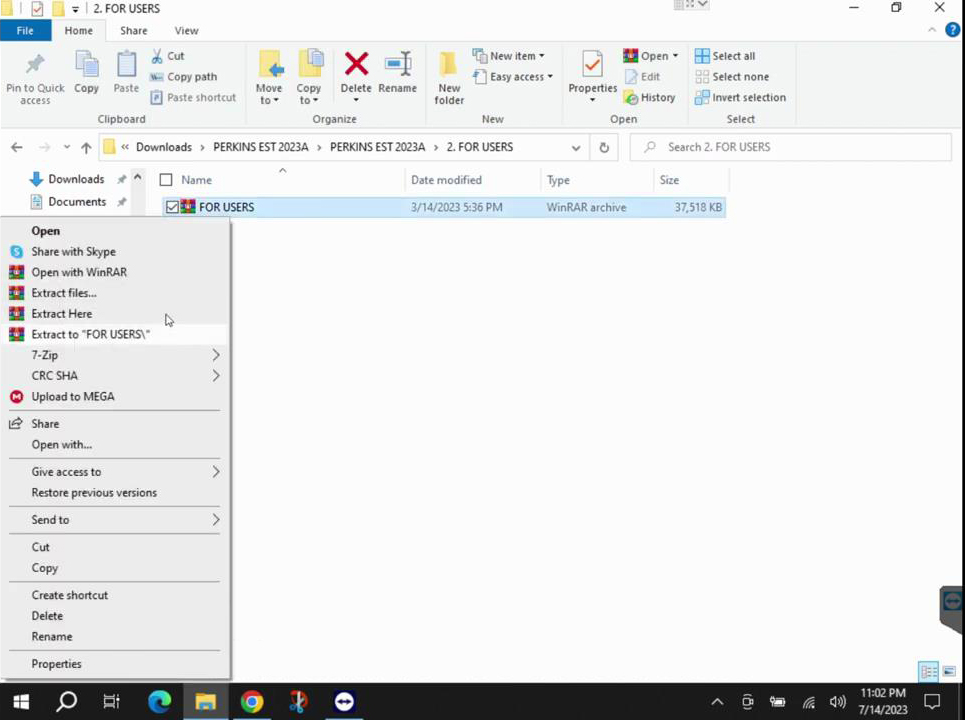
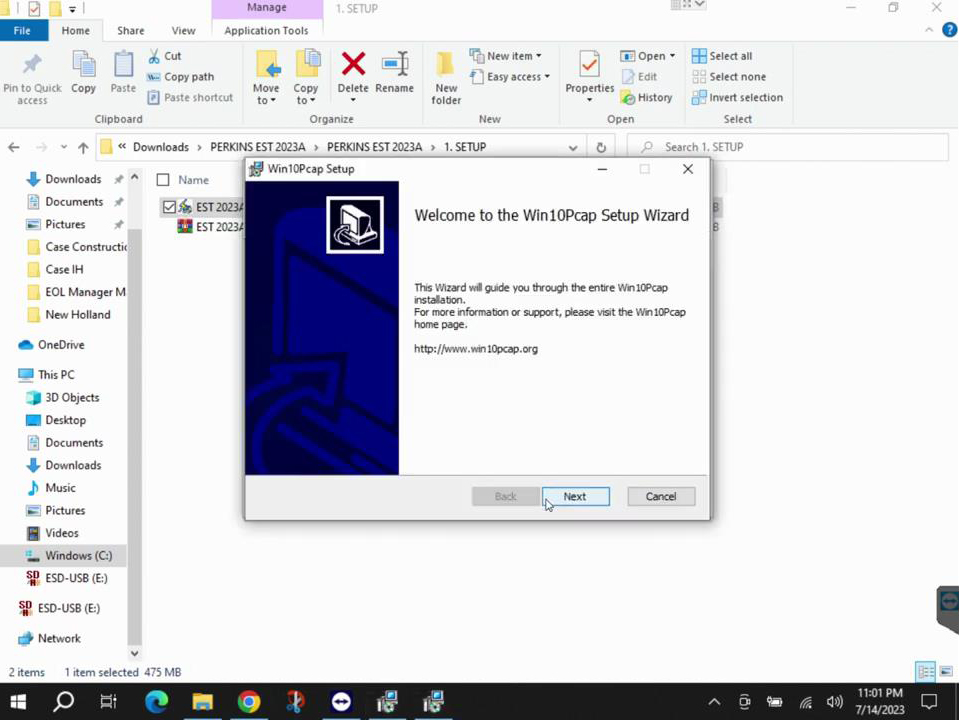
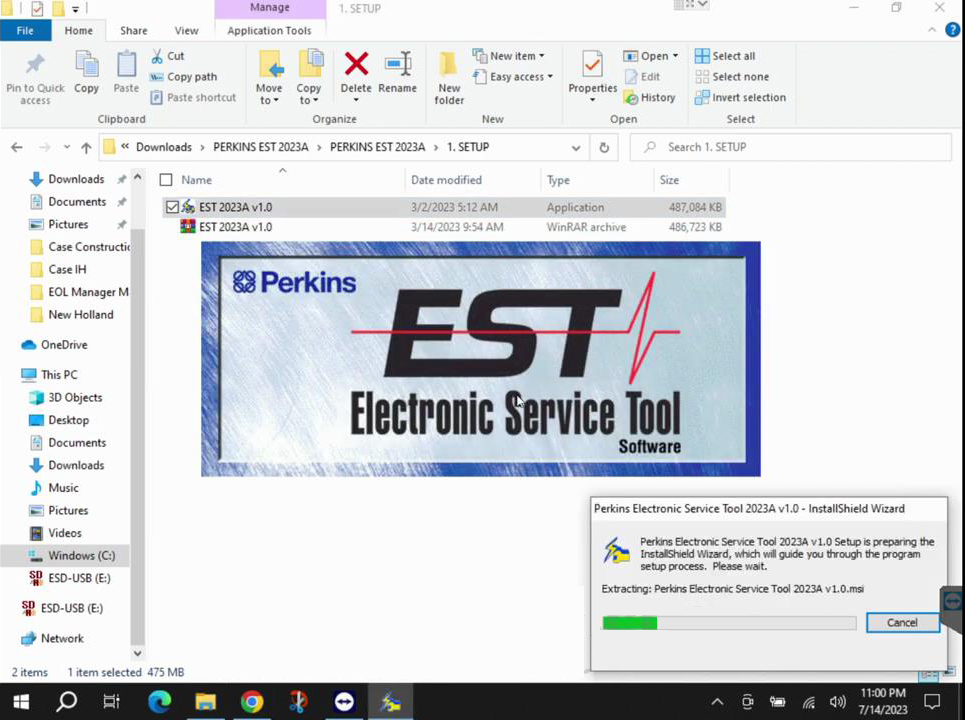
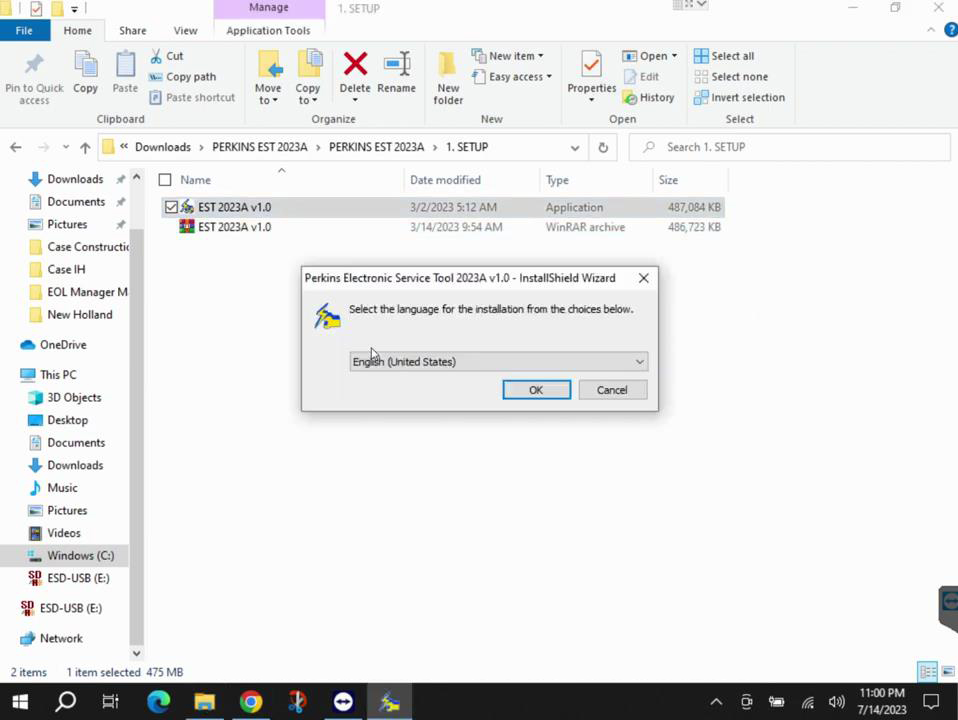
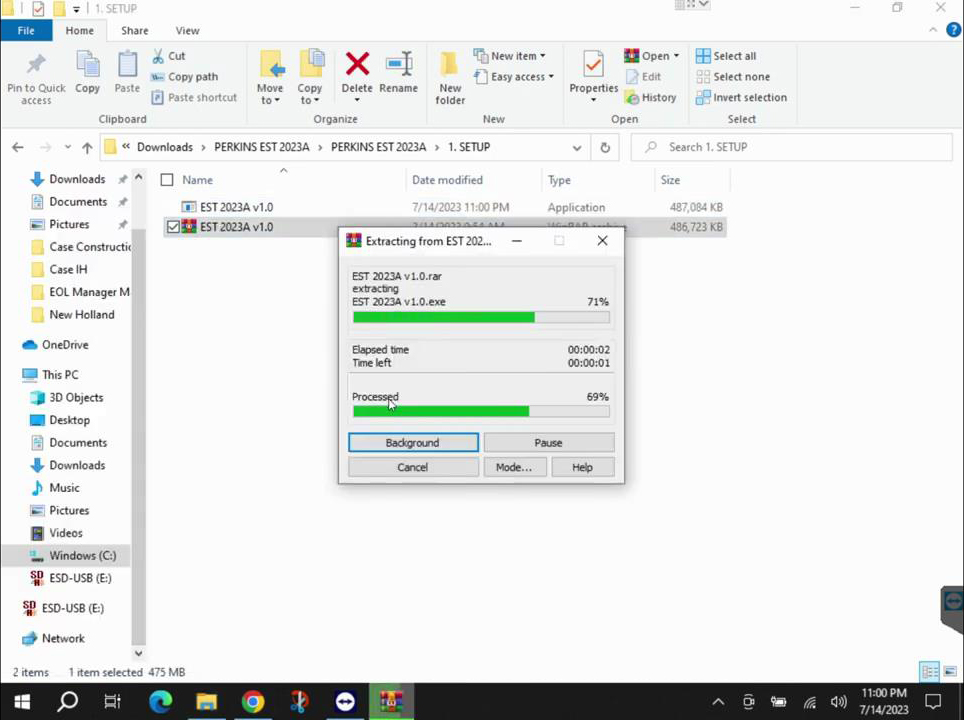
4. Run the Installer: Locate the downloaded Perkins EST software file and double-click to run the installer. If prompted, grant necessary permissions to allow the installer to make changes to your system.
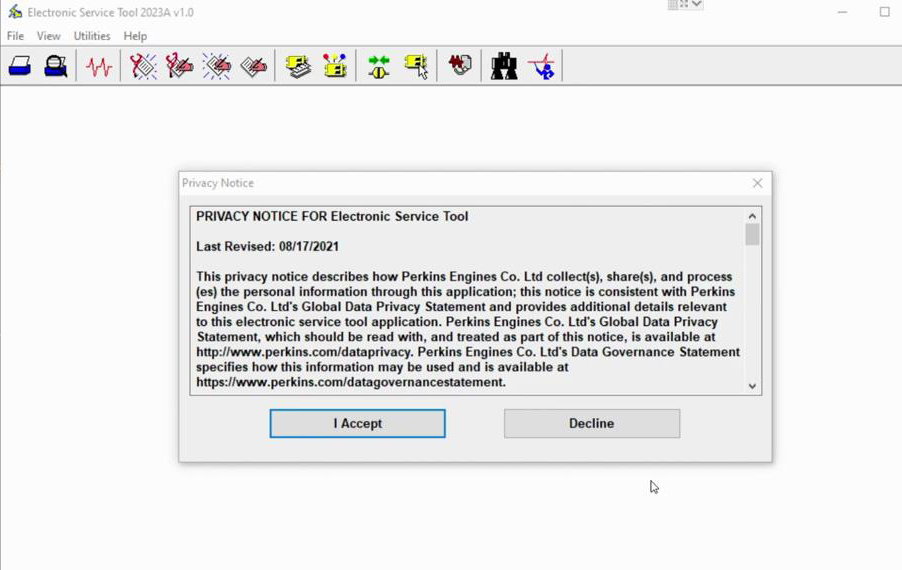
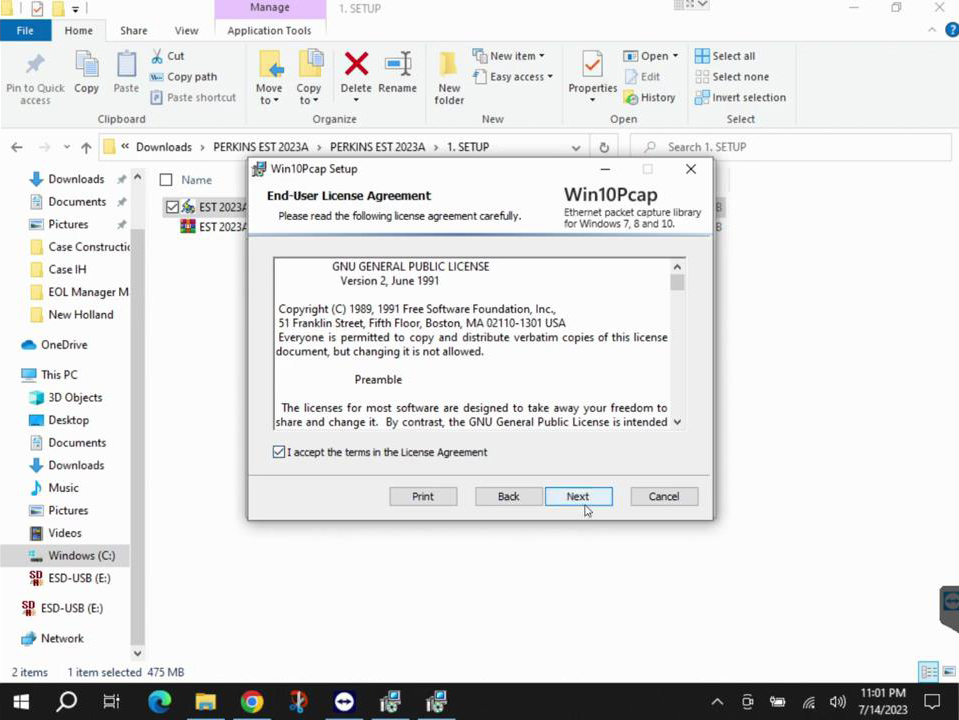
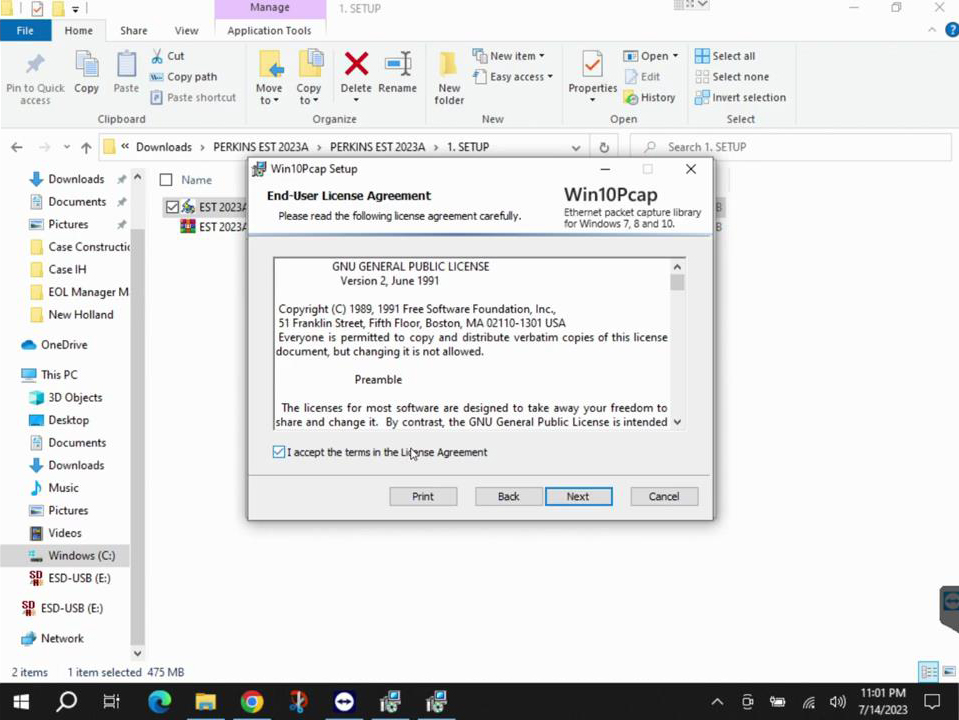
5. Accept License Agreement: Read and accept the terms of the software license agreement. Click on the “Agree” or “Accept” button to proceed with the installation.
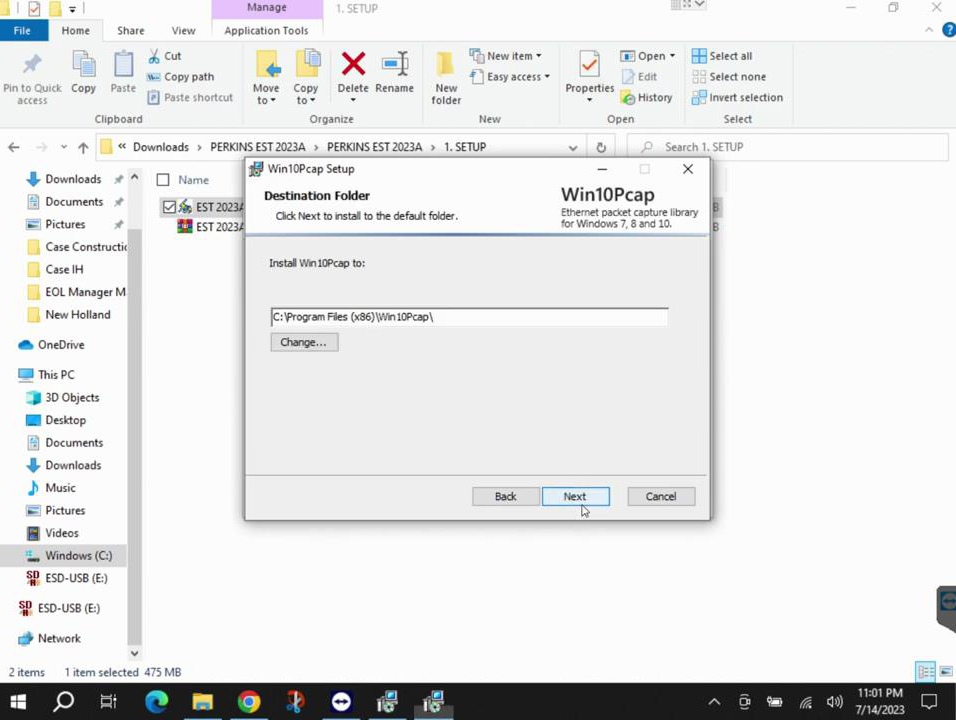
6. Choose Installation Location: Select the destination folder where you want to install the Perkins EST software. You can either accept the default location or choose a different directory on your computer. Click “Next” to continue.
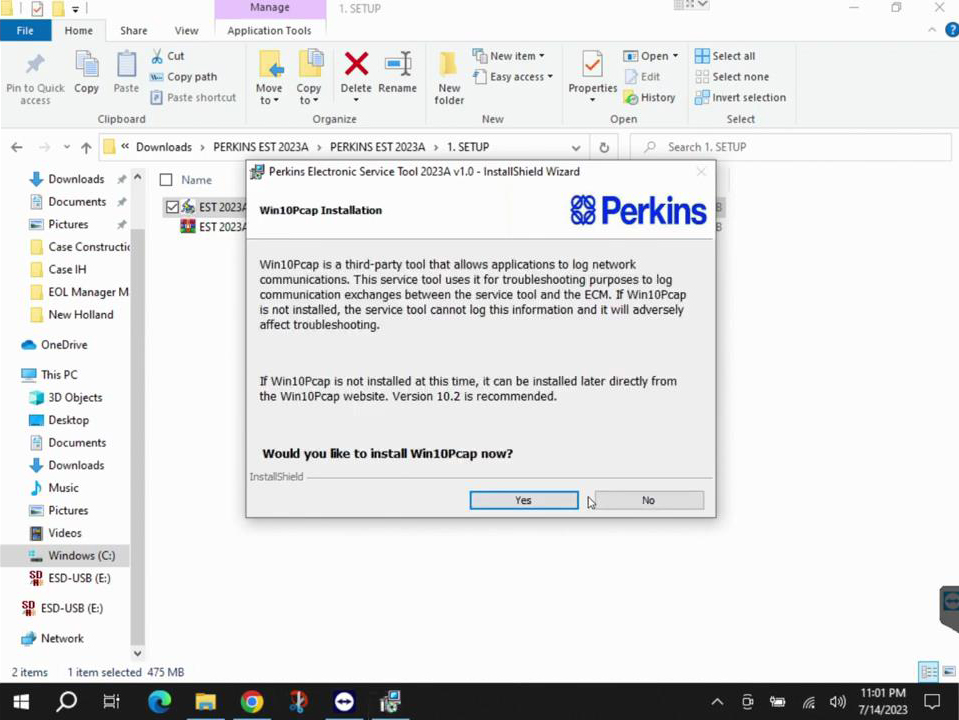
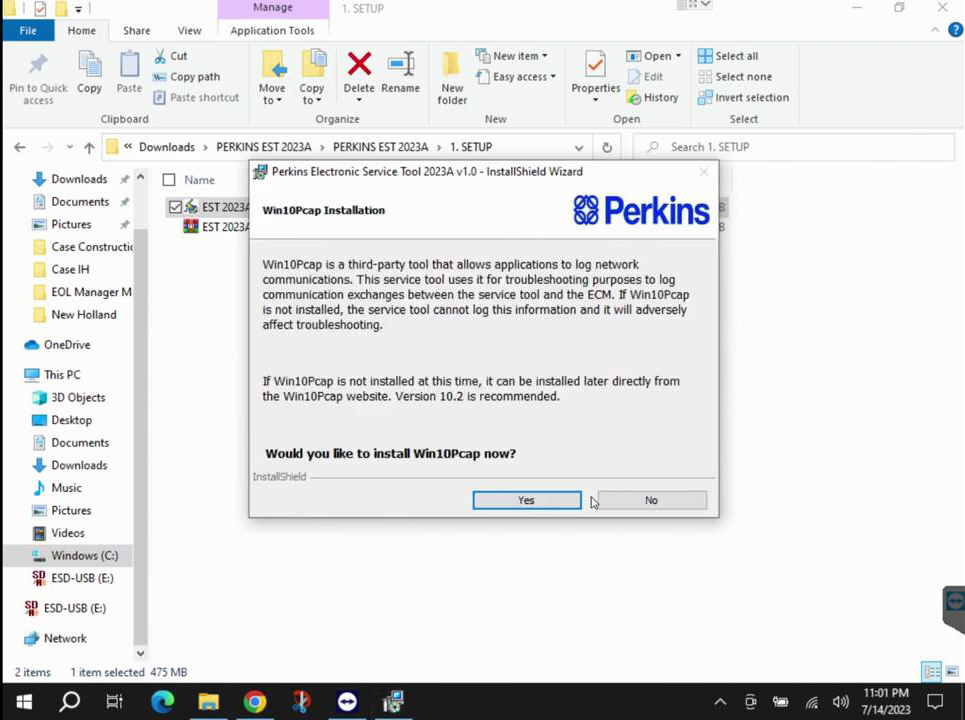
7. Select Components: The installer may provide options to choose the components you want to install. Typically, it includes the main software program, drivers, and additional tools. Select the components you need and click “Next” to proceed.
8. Start Installation: The installer will begin copying files to your computer and configuring the necessary settings. This process may take a few minutes, so be patient.
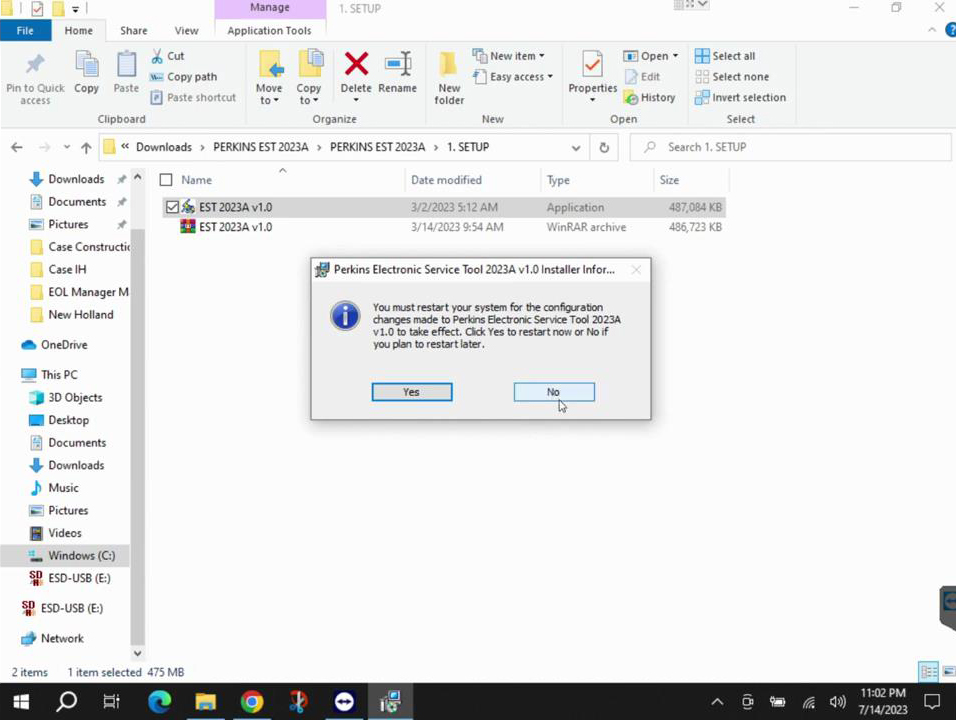
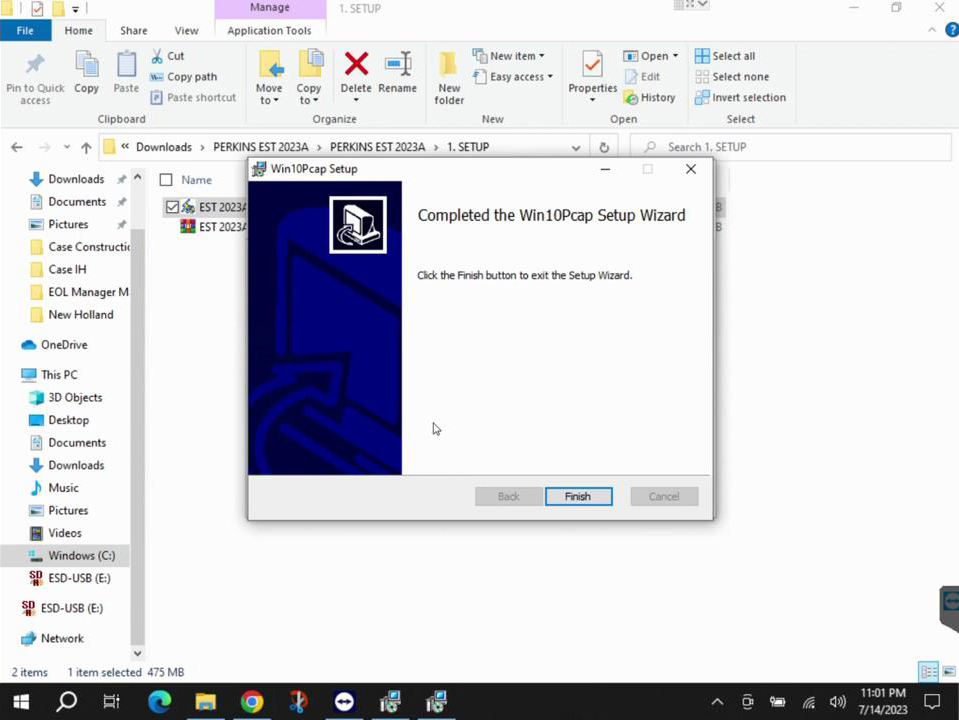
9. Complete Installation: Once the installation is complete, you will be presented with a confirmation message. You may also have the option to launch the software immediately after installation. Click “Finish” to exit the installer.
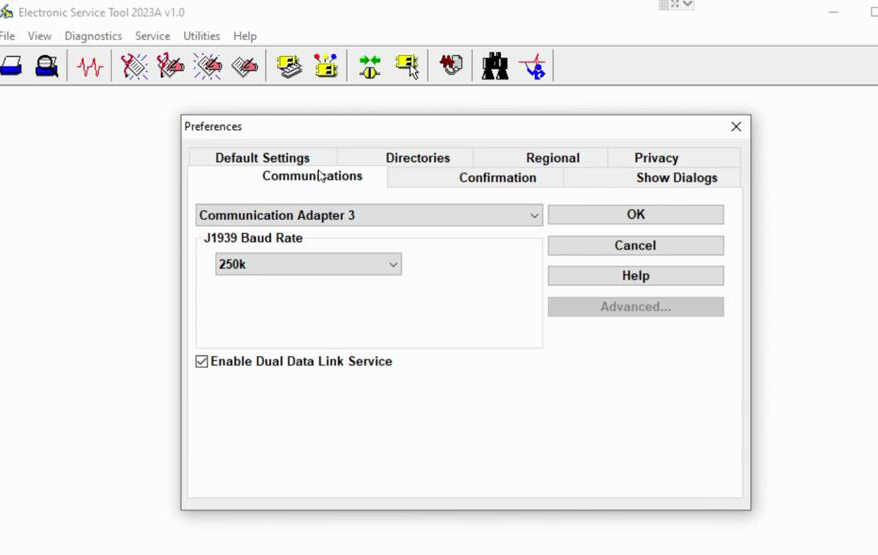
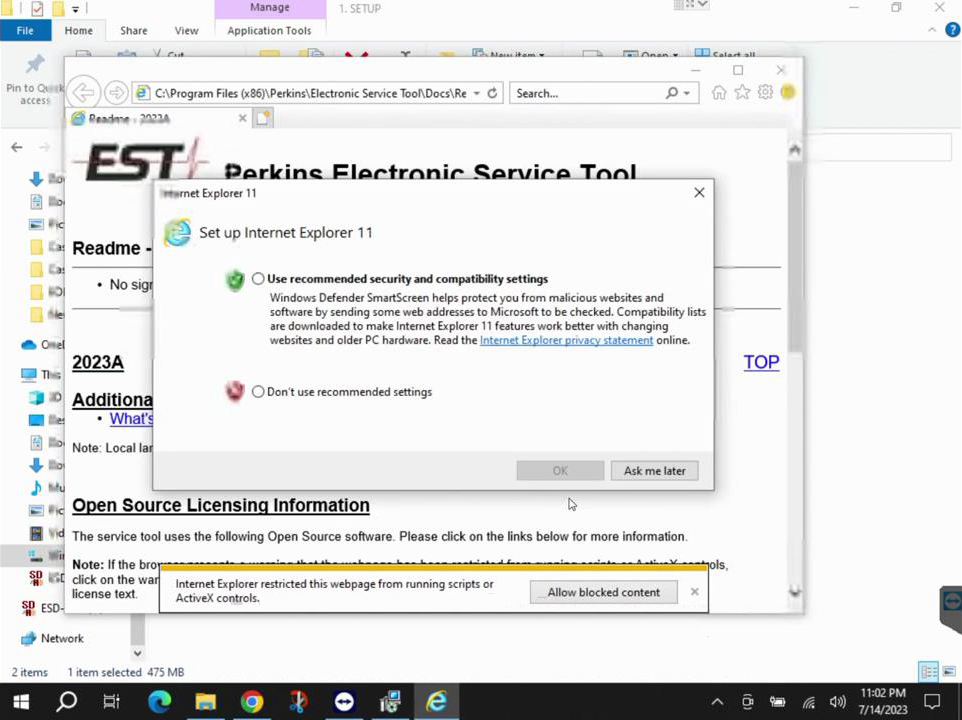
10. Post-Installation Configuration: After installing Perkins EST, you may need to perform additional configuration steps. These may include setting up user accounts, connecting diagnostic equipment, and activating the software using license keys or authentication codes. Follow the instructions provided with the software to complete the configuration process.