
This article describes how to configure your microPod II device for use with Aftermarket wiTECH 2.0. This guide will cover:
How to Download and Install the VCI Setup Utility
How to use the VCI Setup Utility
How to update your microPod II
How-To Download and Install the VCI Setup Utility
1. Navigate to your subscription account manager (https://row.mopartsp.com/)
1.Log in with your email credentials
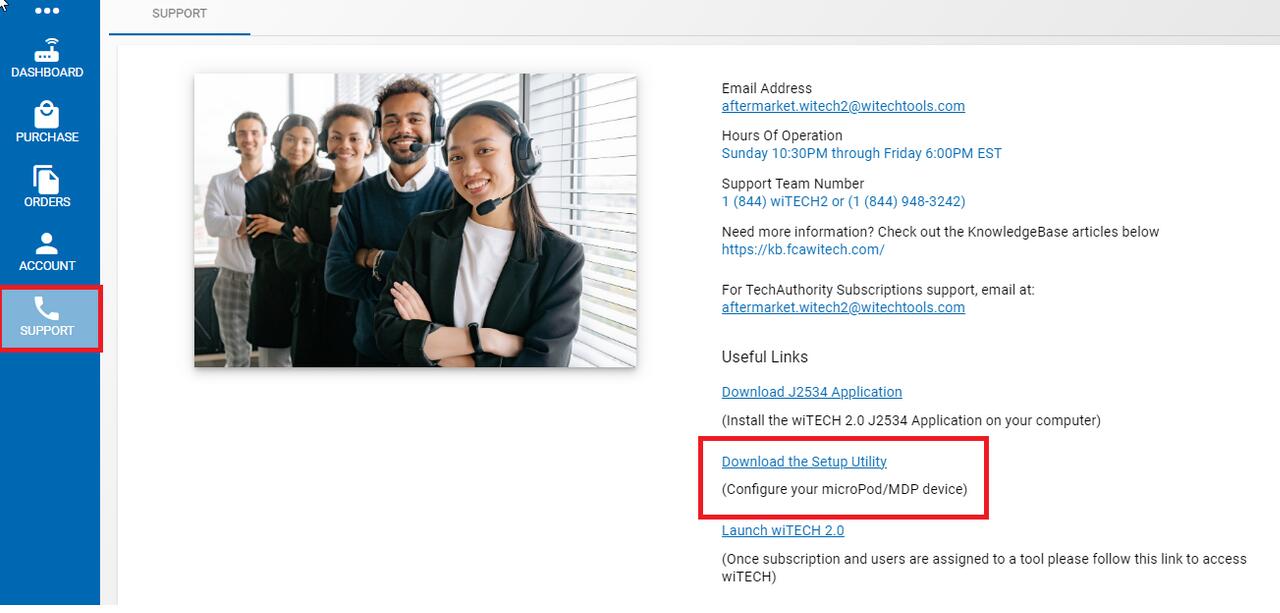
2.Go to the “Support” tab
3.Click on the “Download the Setup Utility” link
2. When the download is complete, double-click the file to install the microPOD Setup Utility.
You may receive a User Account Control prompt on your screen that says, Do you want to allow this app to make changes to your PC?
You must click Yes to allow the program to be installed on your computer.
The software setup wizard will then begin walking you through installing the program on your computer.
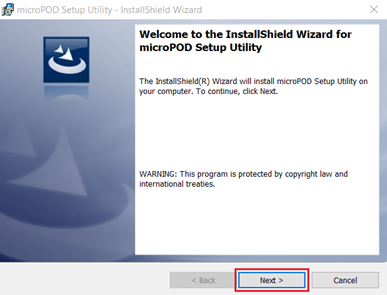
Click the Next button when the first box appears.

3. You can review the License Agreement here. After you are finished, select the I accept the terms in the license agreementoption and then click the Next > button.

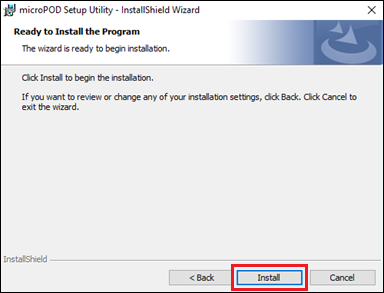
4. After accepting the agreement, and continuing, click Installto begin installing the application.
5. After the application is finished installing, click Finish ,and you will now have a microPOD Setup Utility icon on your desktop.

How to Use the VCI Setup Utility
Note: Make sure your microPod II is connected via USB cable to your computer through this whole process.
1. IMPORTANT NOTICE: Do not run the application unless your microPod II is registered to your account. Now that the Setup Utility is installed, double-click the Setup Utility Icon on your desktop to begin configuring your microPod II device.

2. If the Setup Utility requires an update, you will be prompted with an update window. Click the Continue button to proceed with the update.
3. Click Next >. The Setup Utility will be updated to the most recent version.
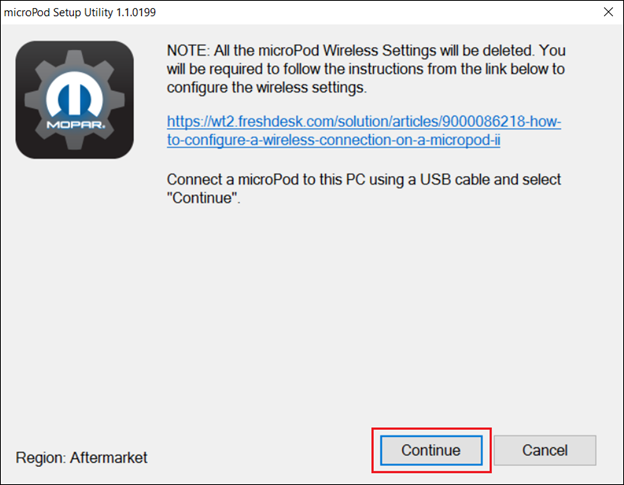
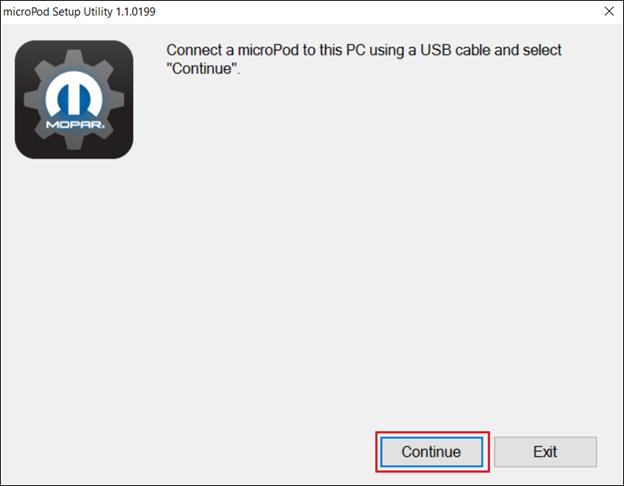
4. Once the Setup Utility opens, you must first click the Continue button before configuring your device for a wireless network. The microPod II device will need to be setup with the correct version of software before it will usable on the Aftermarket network. Click the Continue button to proceed.
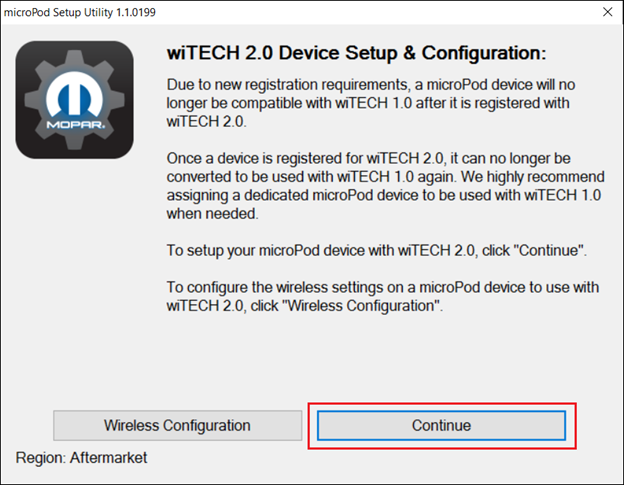
5. If you are using a microPod II that is already configured for use on a network, performing this operation will reset the device to factory settings, and erase any saved wireless networks. You can reconfigure the networks after completing the software setup. If this is your first time using the microPod II on Aftermarket, you must complete the software setup before you can use the device.
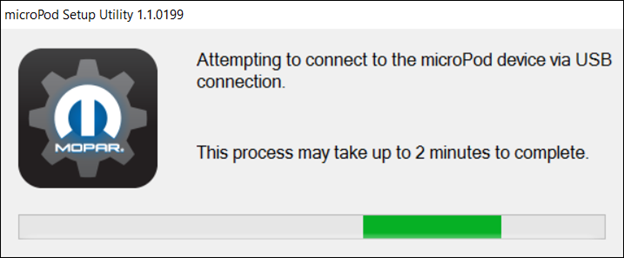
6. Make sure that the microPod II device is connected to the computer via a USB cable, and click Continue.

7. The Setup Utility will then attempt to connect to your microPod II device. If it does not discover it immediately, allow a couple of minutes for the device to connect.
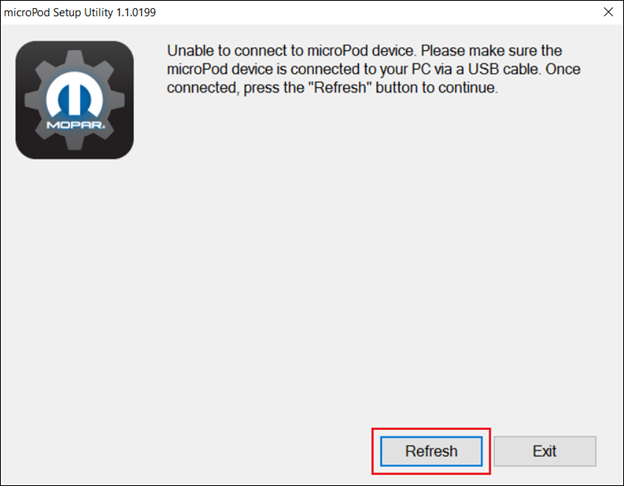
If you receive an error message stating that the device could not connect, ensure that the microPod II is connected correctly to your computer with the USB cable, and click Refresh to try again.
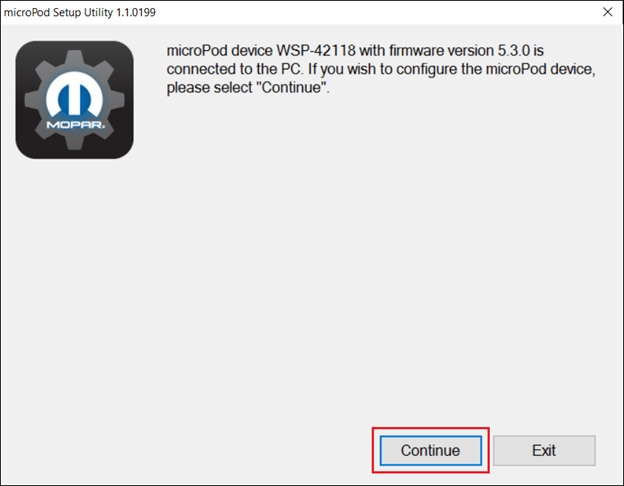
8. After a successful connection, you will see a message that asks if you wish to configure your microPod II device. Select the Continuebutton to begin configuring your device for Aftermarket wiTECH 2.0.
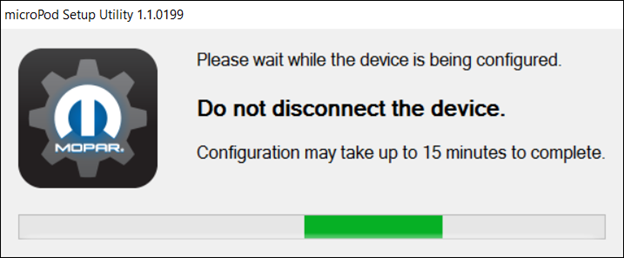
9. Your device will now be configured for Aftermarket wiTECH 2.0. This process may take up to 15 minutes to complete.
Note: Make sure that you do not disconnect the microPod II device while the software update is being performed.
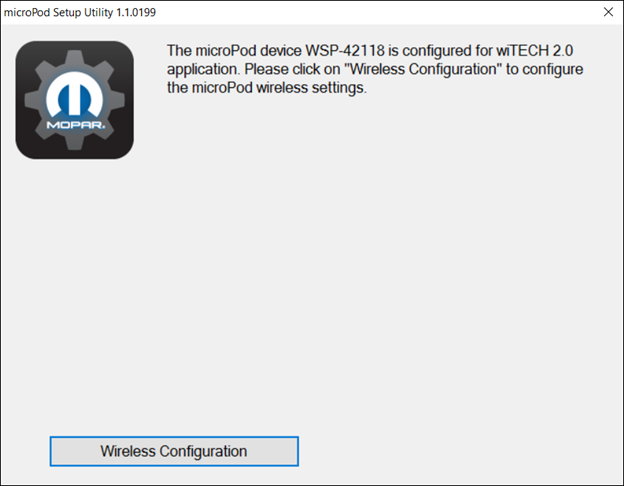
10. After the Setup Utility has finished, you should receive a message that verifies that your device is now configured for wiTECH 2.0.
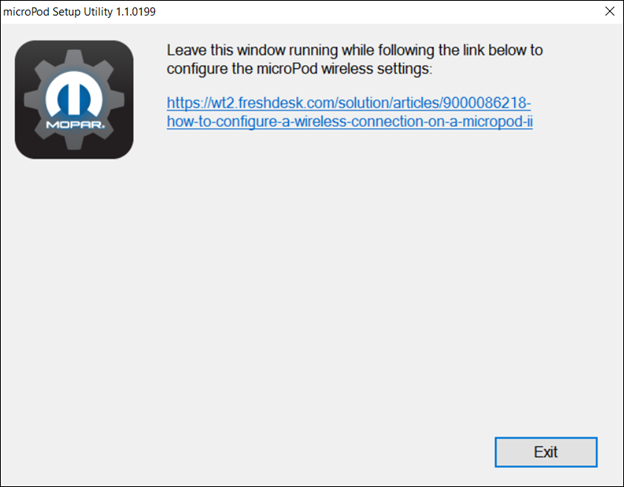
Note: In order for your microPod II to display in the wiTECH 2.0 Application you must select the Wireless Configuration button and leave this application open.
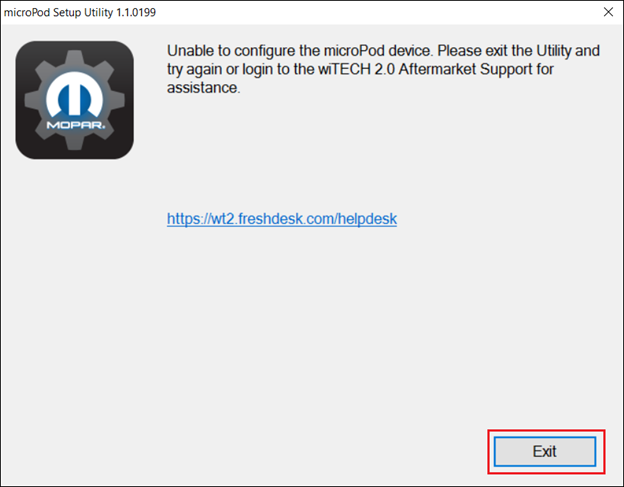
10a. If the Setup Utility finishes, and you receive the following message “Unable to configure…”, first attempt to run the application again and if that doesn’t work submit a ticket to the support staff. This issue may be occurring due to incorrect connections between your microPod II and user, this is not your fault and can be quickly handled by the support staff.
How to Update a microPod II
1. With the microPod II device now configured with the correct factory settings, you will be able to continue with updating your microPod II. You will first need to select VCI Setup Utility from your desktop by double-clicking.

2. Select Wireless Configuration.
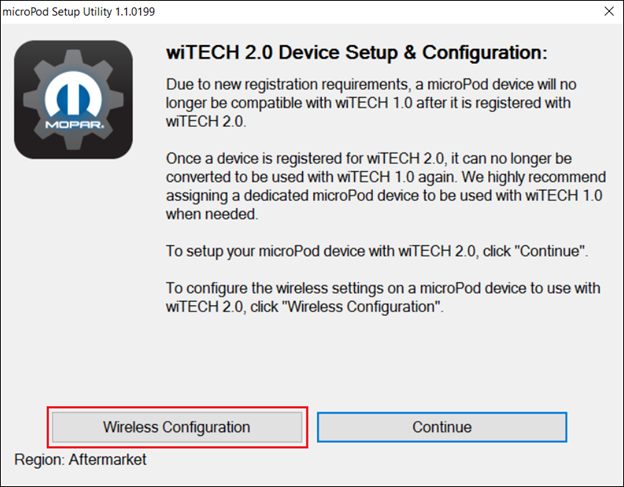
3. Select Continue. This may take up to two minutes.
4. Once you have reached the following picture, you can continue to the next step.
WARNING: DO NOT CLOSE THE microPod Setup Utility OR DISCONNECT YOUR microPod II. YOU WILL NEED BOTH OF THESE ITEMS CONNECTED/RUNNING IN ORDER FOR YOUR DEVICE TO DISPLAY IN wiTECH 2.0, AND COMPLETE THE UPDATING PROCESS.
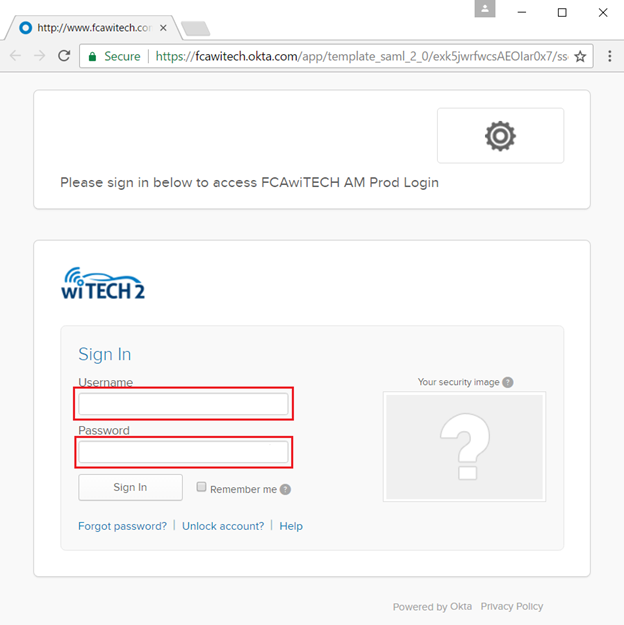
5. Navigate to AM FCA wiTECH 2.0, and fill in your Okta username and password. Then click Sign In.
6. Your microPod II should show up if you have the Registration Application the Wireless Configuration step with your microPod II plugged in. If your microPod II doesn’t display in discovery after a few minutes, please power cycle your microPod II by unplugging it and plugging it back into your computer, you may also have to follow steps 1-4 again.

Click Continue.
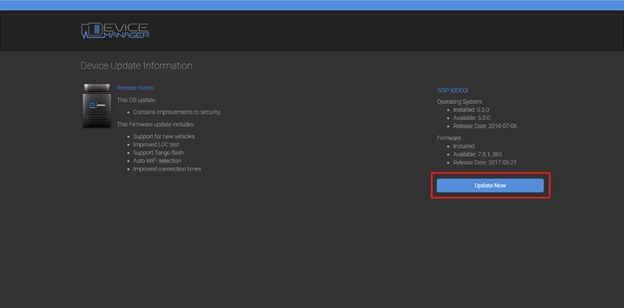
7. Click Update Now. This step may take upwards of 9 minutes. It is normal activity for the microPod II to reboot during the updating procedure.
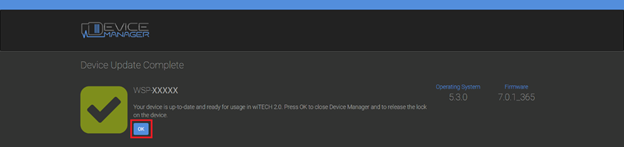
8. When the update is finished, click OK.
Congratulations. Your microPod II is now updated with the latest OS. if you need it,Please visit Autonumen.com