
The eTechnician™ PC-based software application now includes both HDS (Heavy Duty Standard) and LMT (Light and Medium Duty). Packaged together for the first time, these essential modules create a diagnostic software application service technicians will depend on to keep trucks on the road. In fact, service bay technicians provided input during the design phase of the eTechnician intuitive user interface. Their first-hand knowledge and experience was incorporated into the eTechnican design, making it both easy to use, and easy to learn.
The eTechnician HDS module provides technicians with the ability to perform heavy-duty diagnostics using both J1708 and J1939 communication protocols on a PC platform. It includes comprehensive coverage for heavy-duty engines, transmissions, brakes, trailers, body controllers, instrument clusters, and emissions. Emission-related diagnostic capability for a wide range of light and medium-duty trucks is also available. And eTechnician HDS enables the technician to easily switch between each of the system elements.
The eTechnician LMT module provides diagnostic capability for engines, transmissions, and brakes on a wide range of light and medium duty trucks. And, it features hundreds of diagnostic tests, making it an important and valuable asset for service technicians. eTechnician LMT lets you easily switch between each of the elements of the system, saving both repair and vehicle down time. In addition, the application includes generic OBD II.
FREE download NEXIQ eTechnician here:NEXIQ eTechnician v1.1.5785.1815.
Once completed the installation, then will automatically ask for connect to the Internet, click on “Quit” button (as Figure 1.2 below).
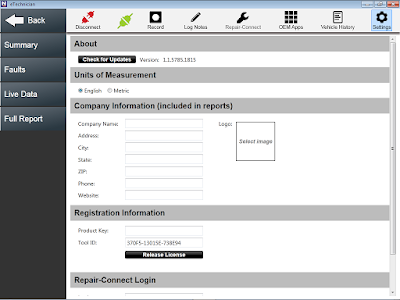
Figure 1.2 – Click on “Quit”
#To Activate: Need to replace “Nexiq.Registration.API.dll” file on Local Dick (C:)\Program Files (or Program Files x86)\NEXIQ\eTechnician\
Feel FREE to Contact Us, if you need to activate the NEXIQ eTechnician software.
Connecting to the Vehicle
1). Connect Adapter Tools (Nexiq USB-Link) to diagnostic port on the vehicle. Check the “Connection Settings”, choose the “Vendor” and “Connection Device”, then click on “Scan” button.
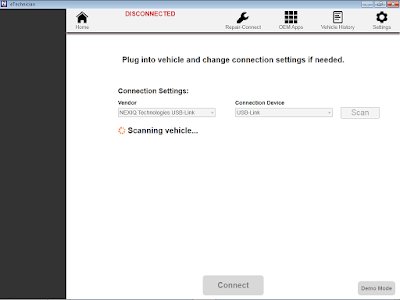
Figure 1.3 – Scanning vehicle (Scan)
2). Wait until “Components Detected” is displays as below example (Engine – J1939 – Ch1), then click on “Connect” button.
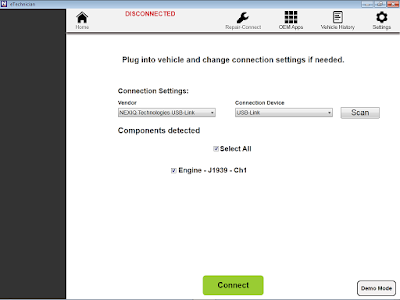
Figure 1.4 – Components detected (Engine – J1939)
3). Once connected, will displays the “Summary” (Calibration Data and Engine) as below.
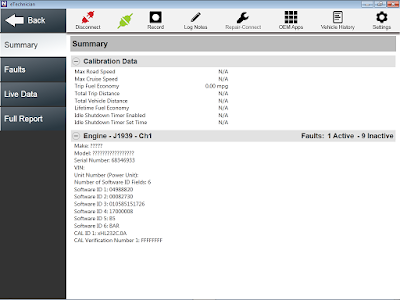
Figure 1.5 – Summary (Engine – J1939)
4) You can choose another menu (depending on availability), such as:
-Faults
-Live Data
-Calibrations
-Tests
-Full Report
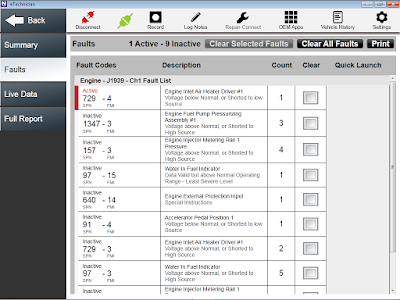
Figure 1.6 – Faults

Figure 1.7 – Faults (Description)
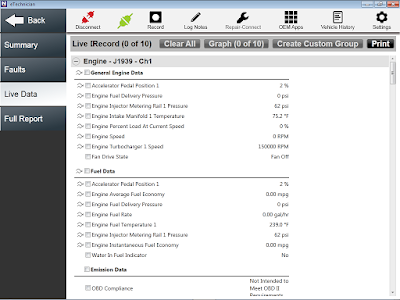
Figure 1.8 – Live Data