
Installing the New Holland Electronic Service Tools (CNH EST) software involves several steps to ensure that the program is correctly set up to interact with New Holland equipment for diagnostics and maintenance. Here’s a simplified guide on how to install CNH EST software:
1. System Requirements
First, ensure that your computer meets the system requirements needed to run the CNH EST software. Typically, these requirements include:
- Operating System: Windows 7 or later
- Processor: Minimum dual-core processor
- RAM: At least 4 GB
- Hard Disk Space: At least 20 GB of free space
- Ports: USB ports for hardware connections
2. Obtain the Software
The CNH EST software is usually provided on a DVD or via a download link once the purchase is made. Ensure you obtain the software from an authorized dealer to avoid issues with counterfeit software.
3. Prepare for Installation
Before installing, it’s important to:
- Disable any antivirus software to prevent interference with the installation process.
- Ensure that all previous versions of the software are uninstalled, and the system is restarted.
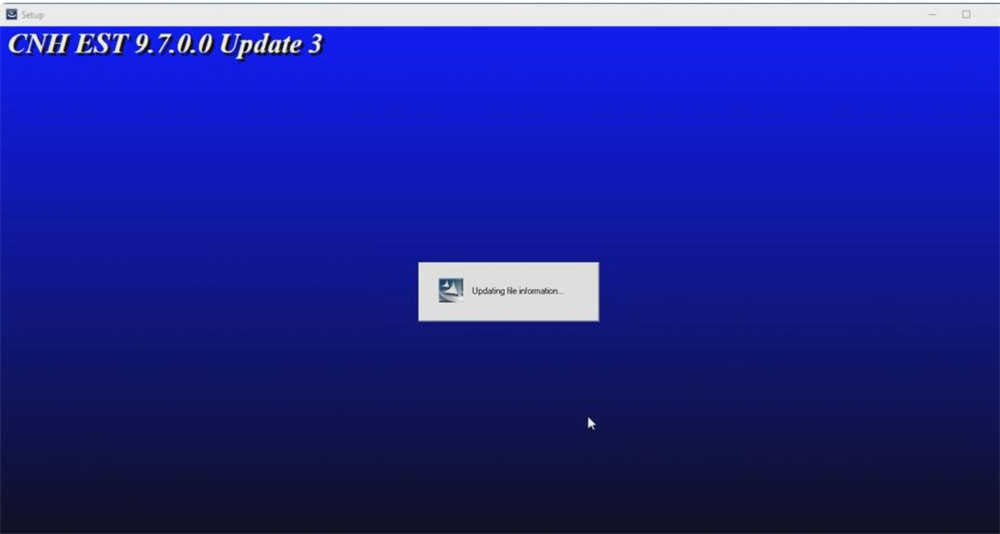
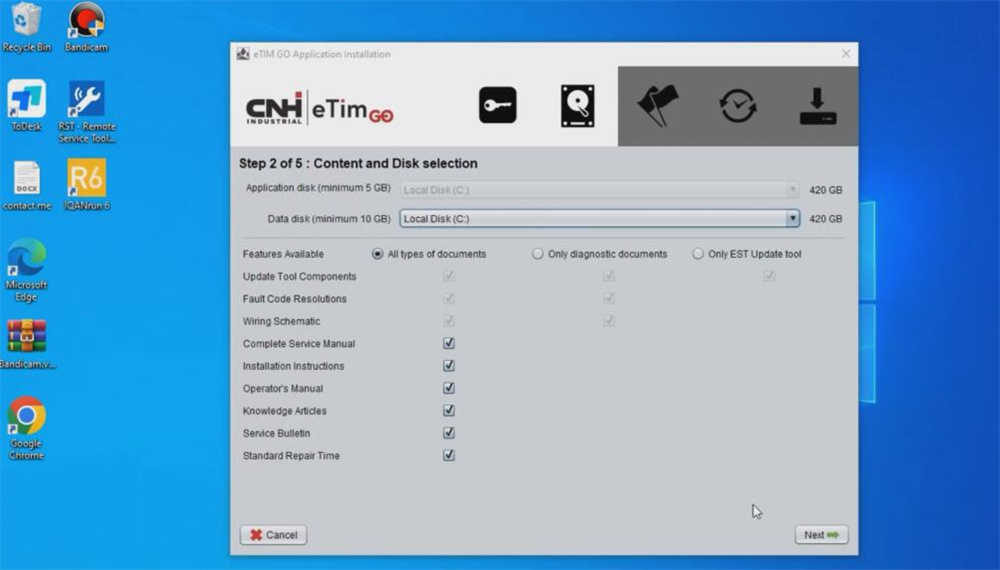
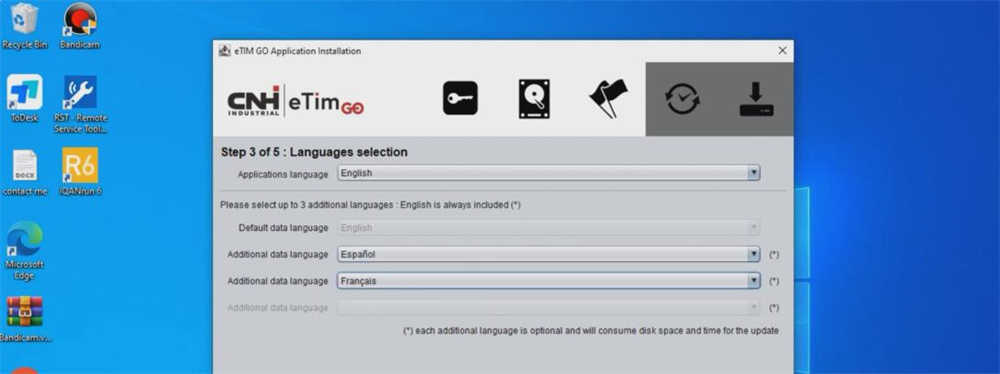
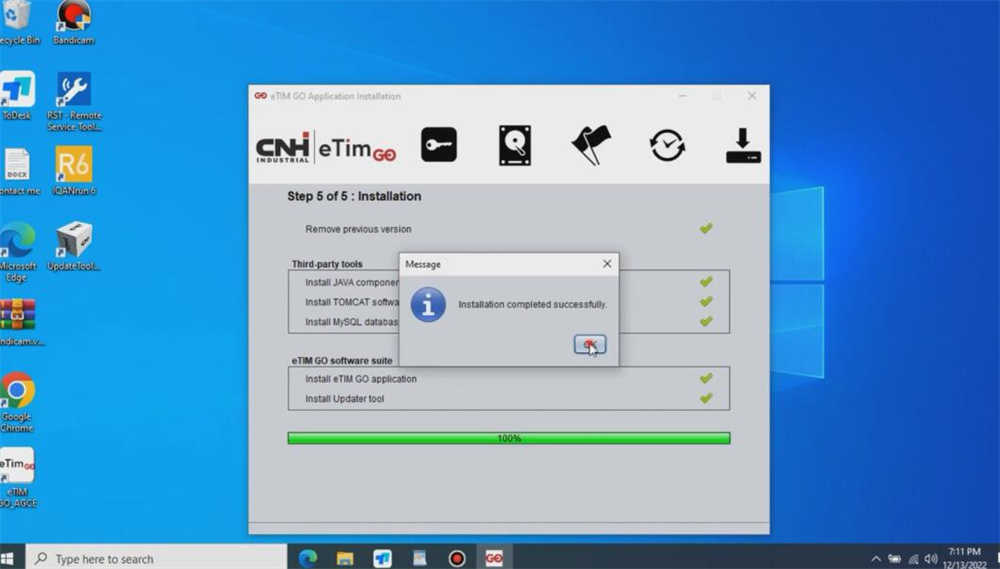
4. Installation Process
To install CNH EST:
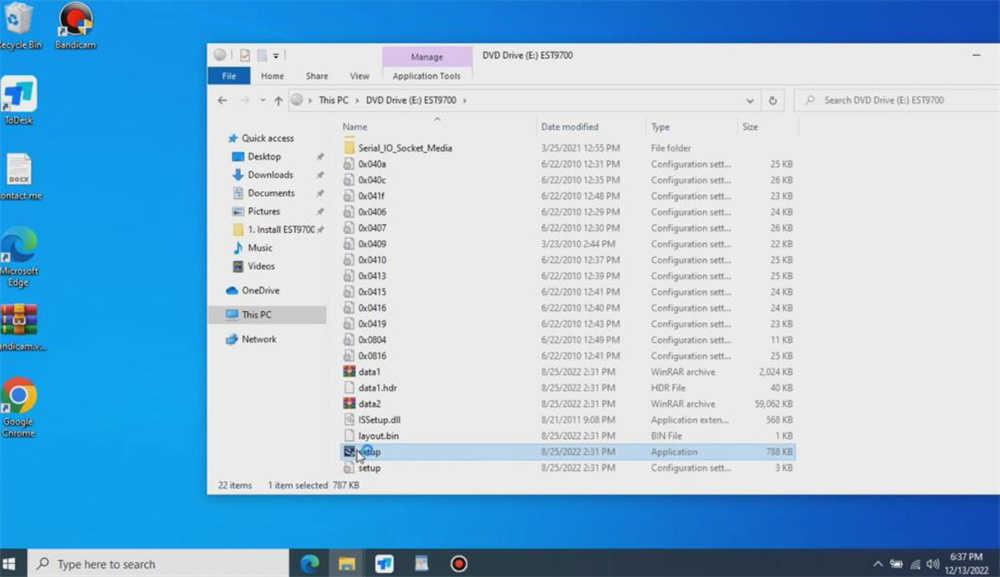
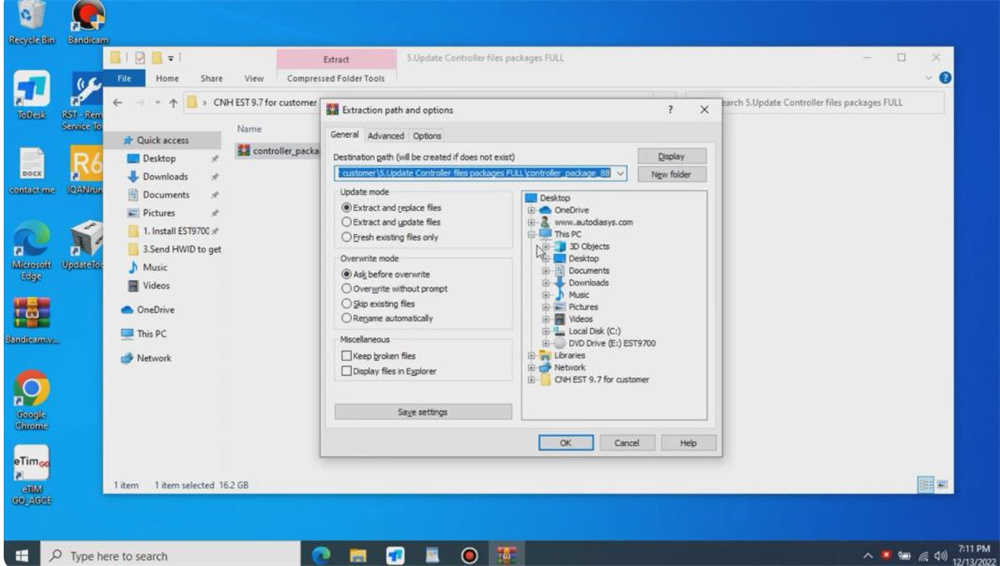
- Insert the DVD into the DVD drive or locate the downloaded setup file.
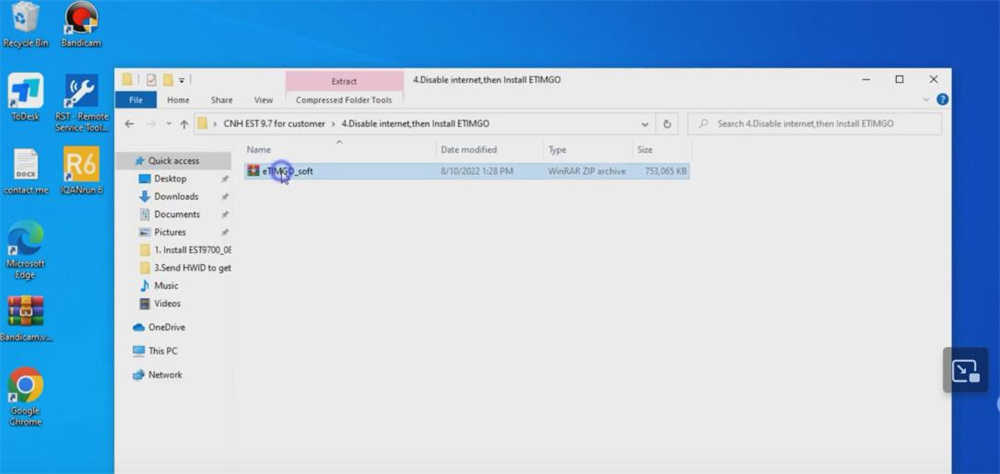
- Run the setup executable file. If you’re using a downloaded file, it might be compressed and require extraction before you can run it.
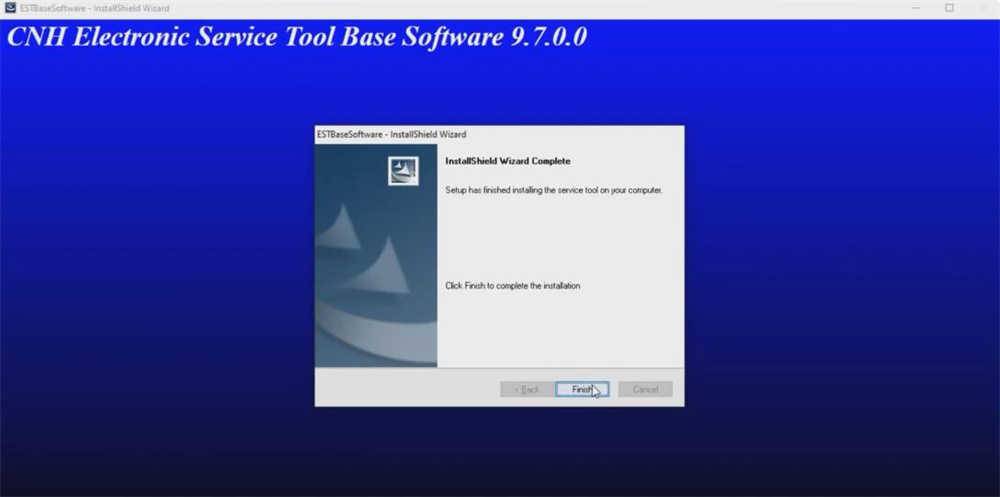
- Follow the on-screen prompts to begin the installation process. Choose the typical installation for most users, which includes all the necessary components.
- The installer might ask for a directory to install the software; you can select the default or choose a different location if desired.
- During installation, you may be prompted to install additional drivers or software needed for the CNH EST to function properly.
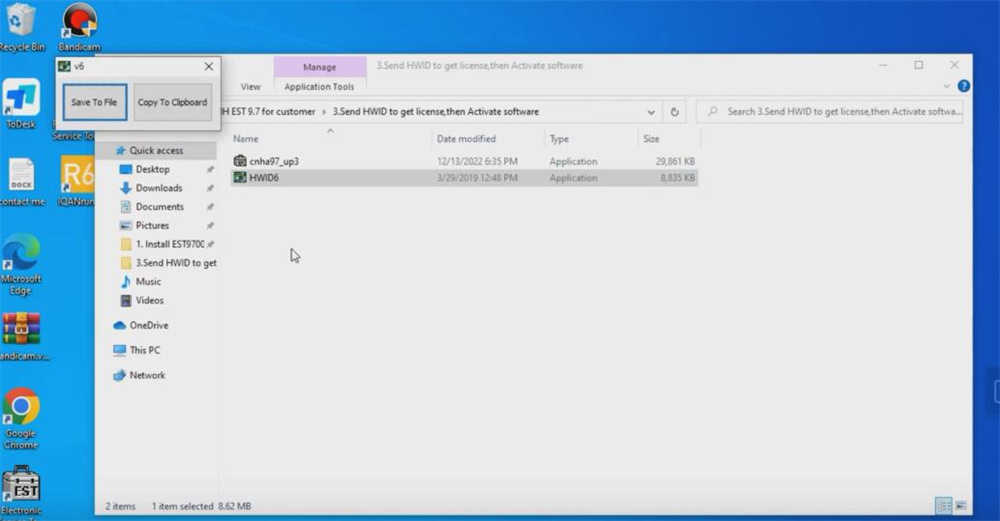
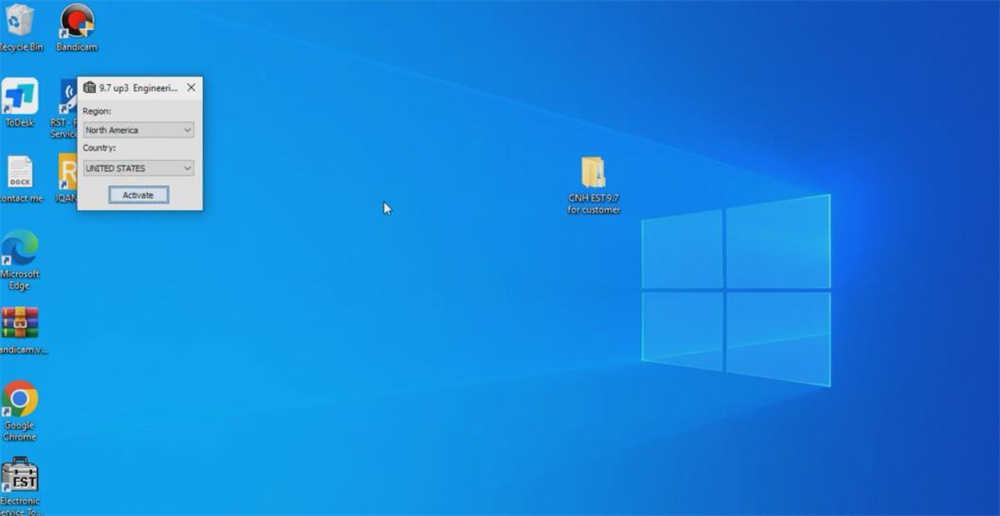
5. Licensing and Activation
- After installation, you might need to activate the software using a license key, which should be provided by the supplier.
- Enter the license key when prompted to activate the full functionality of the software.
6. Setting Up Hardware Interfaces
- CNH EST often requires a specific hardware interface to connect the computer to the machinery. This is typically a DPA 5 kit or similar.
- Install any drivers needed for the hardware interface. These are usually included with the hardware or can be found on the manufacturer’s website.
- Connect the hardware interface to your computer and the vehicle or equipment.
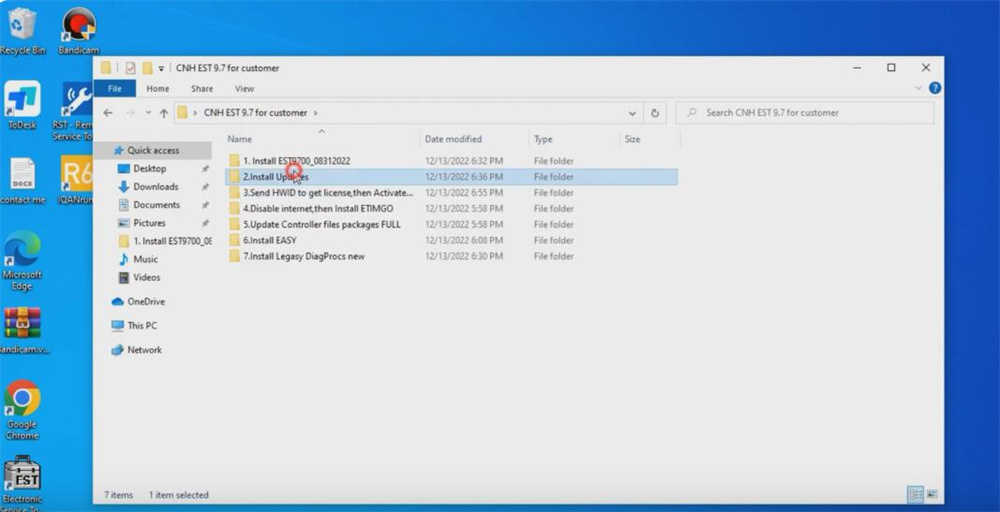
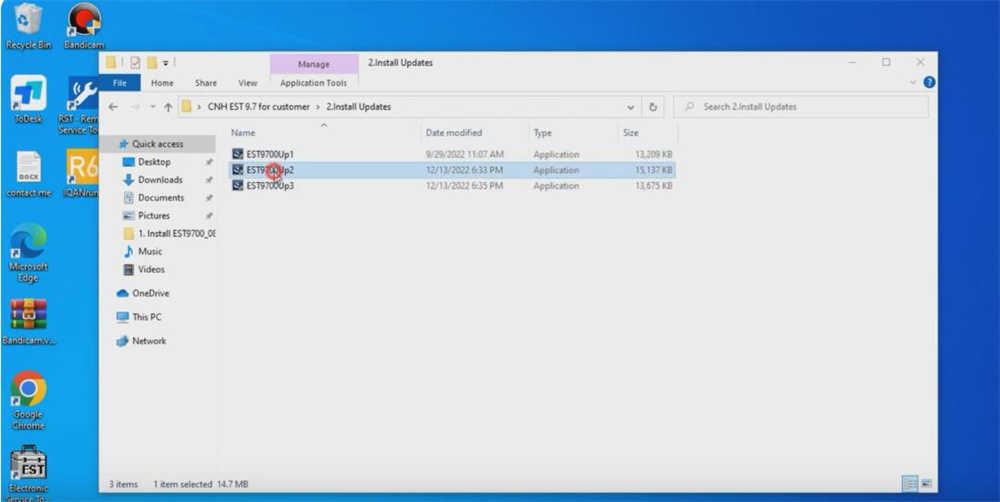
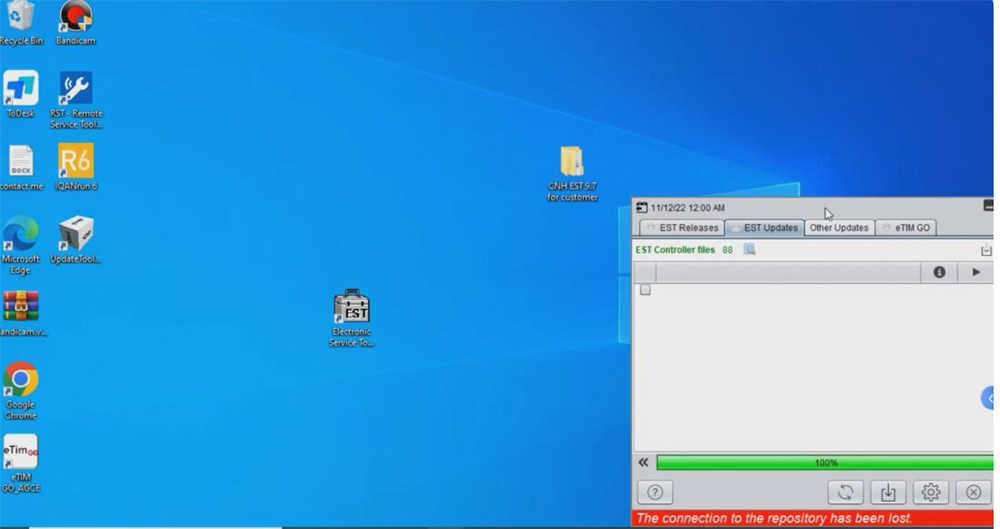
7. Software Updates
- After installation, check for software updates to ensure you have the latest version and patches. Updates may include improvements, bug fixes, and new features.
8. Testing
- Once installation and setup are complete, connect to a piece of equipment and perform a test to ensure everything is functioning as expected.
9. Technical Support
- If you encounter issues during installation, consult the user manual or contact technical support provided by the software supplier.


By following these steps, you should be able to successfully install and set up the New Holland CNH EST software, providing you with a comprehensive tool for diagnostics and maintenance of New Holland machinery.